
There are Jet Powered Shopping Trolleys, Go Karts, Lawn Mowers and even a Jet Powered Wheel Chair. This says to me that there is only one thing left to do and that is build a Jet Powered Sinclair C5.
I purchased the C5 from a nice chap called Ron, the entire chassis is going to be replaced and the power source will be a gas turbine.
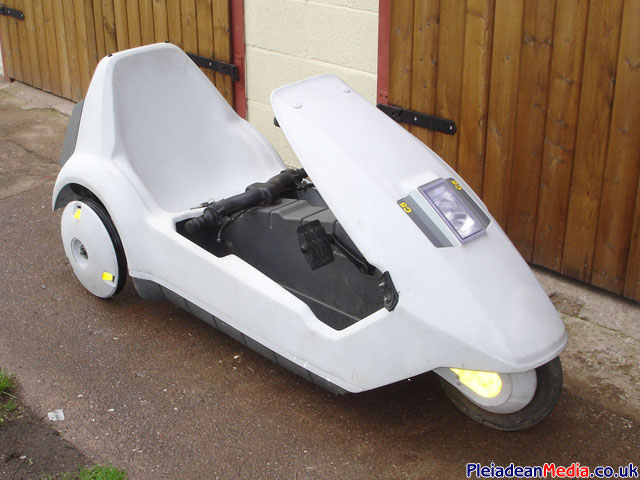
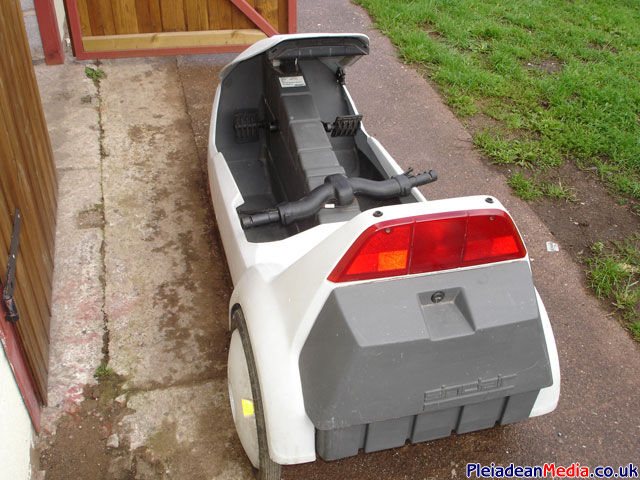
At the time of purchase it had a perished right inner tube and tyre, these can be seen missing in the picture above.
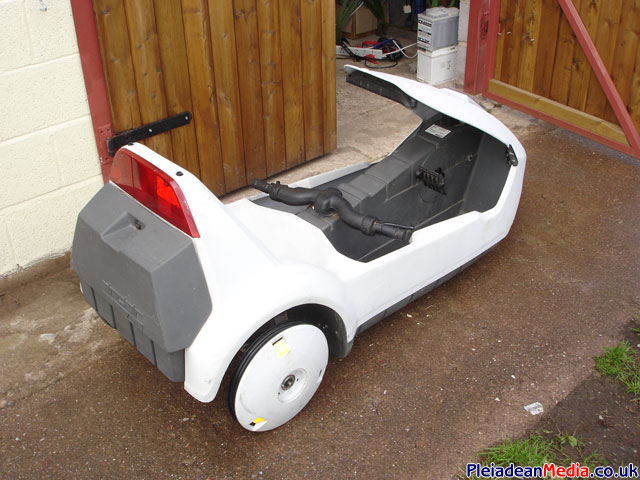
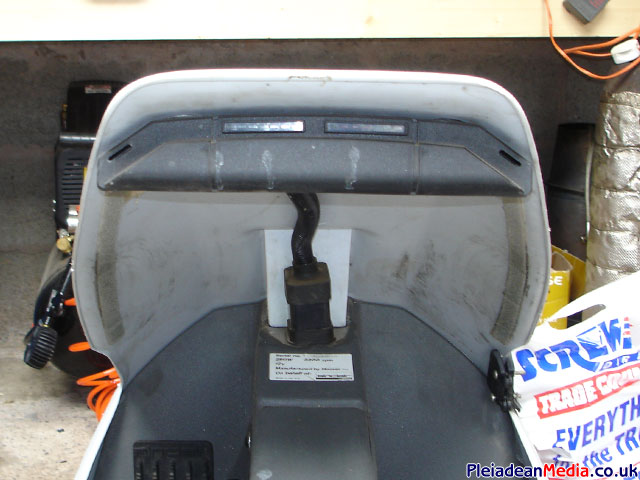
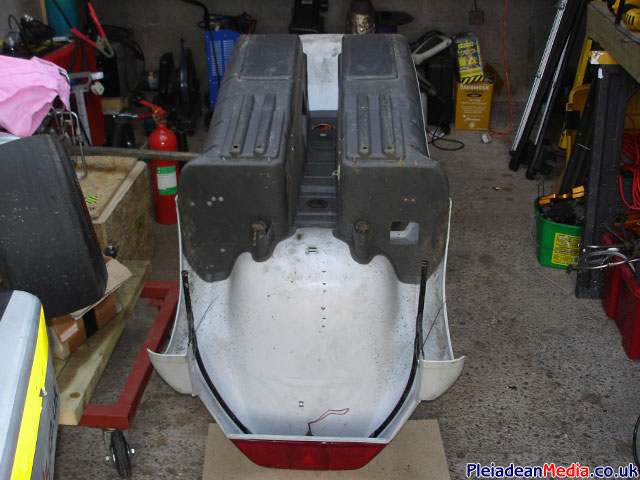
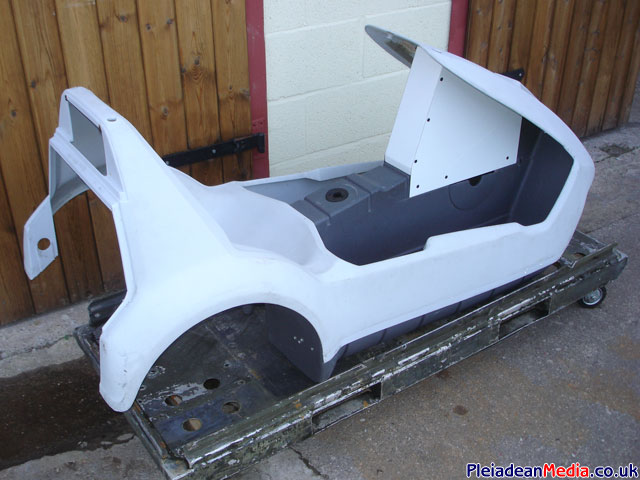
Rear View of the C5, the grey storage area will be taken off and a carbon version made, this will partly house the engine.
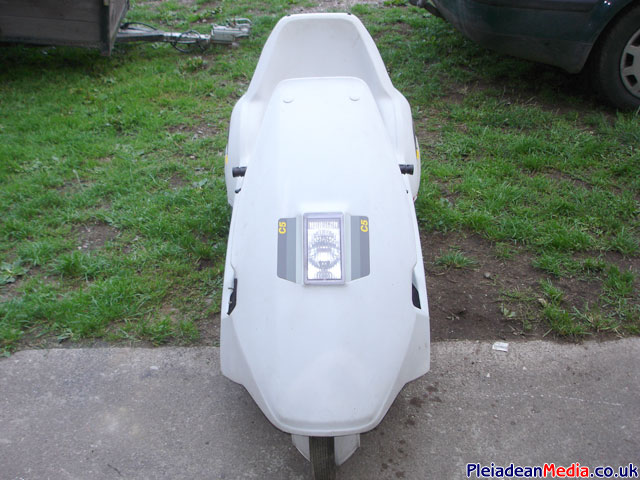
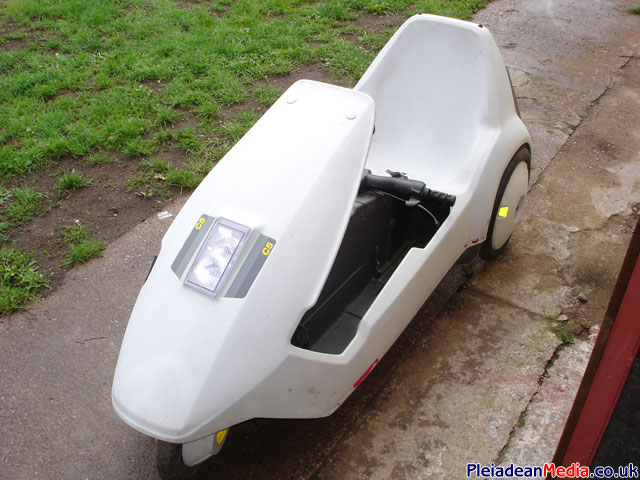
Front view with headlight.
The original pedals which helped the C5 go up hills.
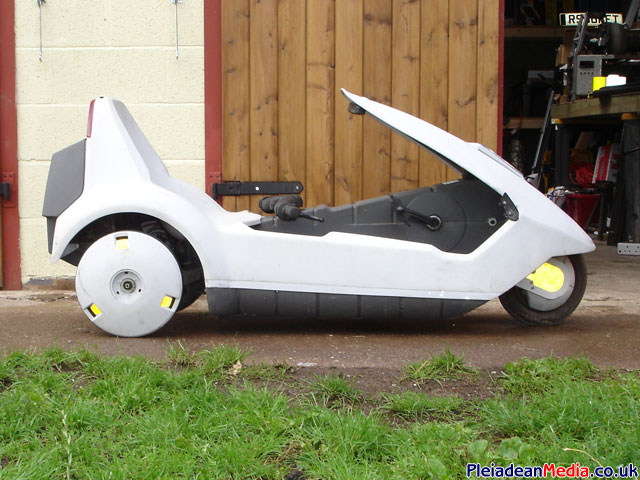
Note the under slung handle bars, these will be remanufactured, but kept the same in principle.
Another nice view.
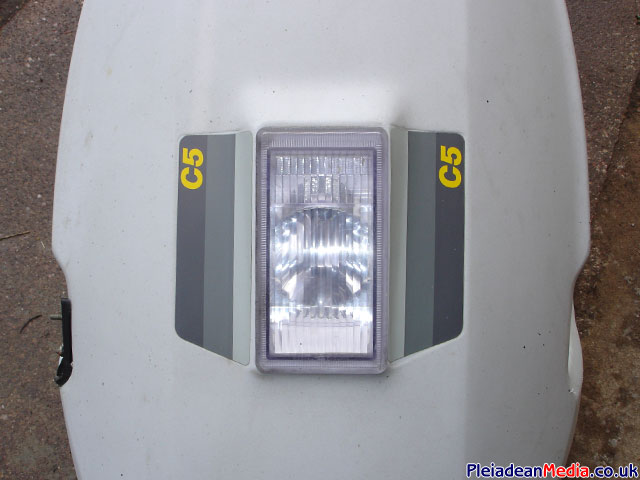
Headlight which will be utilised.
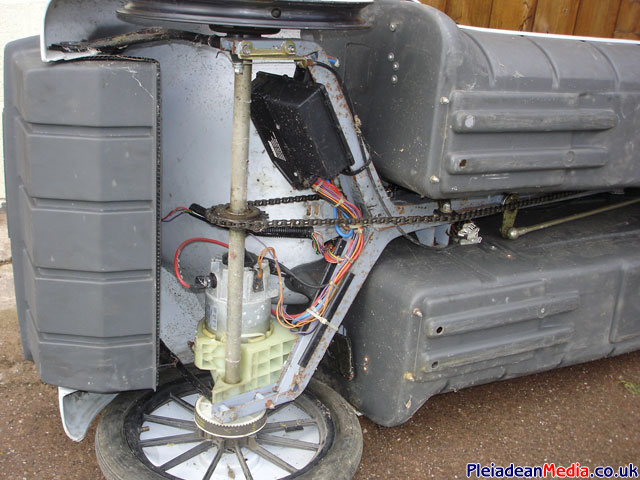
A view of the C5 from the bottom and errrm the view I’m most interested in.
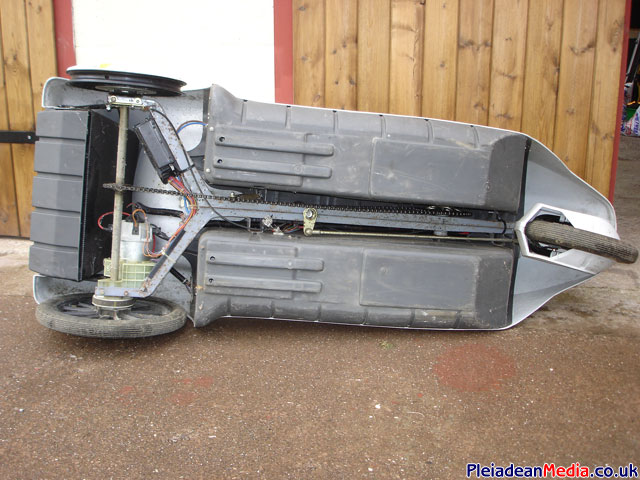
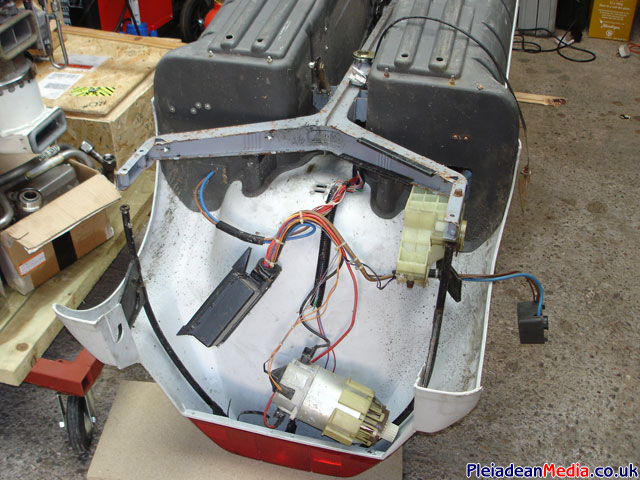
The original chassis, 12volt motor, speed controller and wiring harness.
The battery power level indicators.
The C5 ready to be stripped.

Wheels and axle removed.
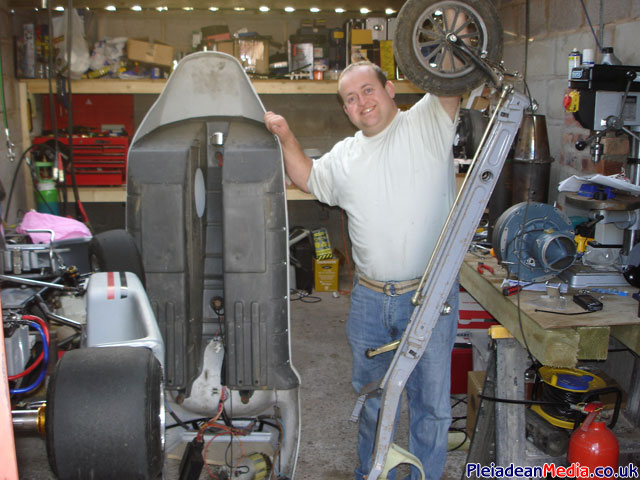
Here Paul is pictured with the original chassis removed. He makes the C5 look quite big 😉
The space behind the seat where everything has got to fit. Time to start thinking about what engine to use I guess.
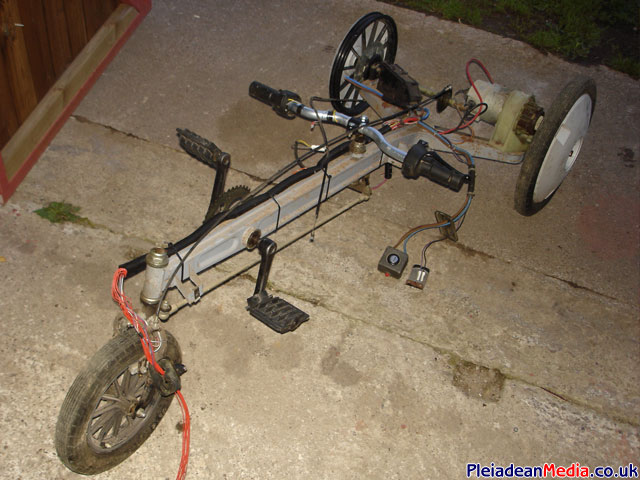
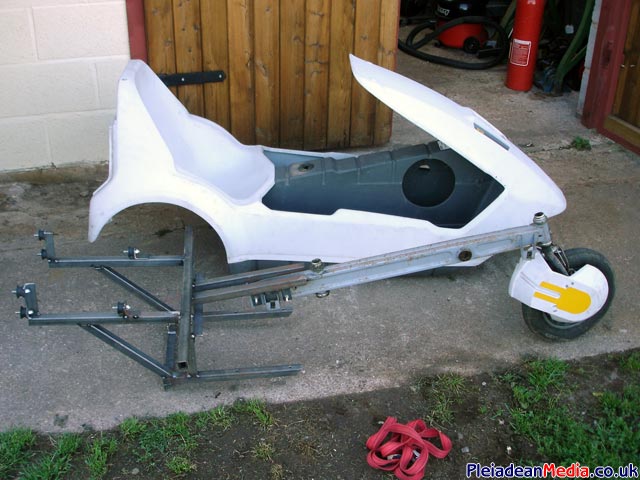
The complete Sinclair C5 Chassis.
I’m going to be a little sneaky here, Paul has left his Williams WR24-1 form a target drone similar to the picture above. I’m going to see what it looks like on the Sinclair.

A basic frame has been made and the turbine mounted using shock mounts.

Another view of the basic engine support frame.
An underside view of the air intake of the Williams taken fron the front looking backwards.
I was getting a good vibe about using this engine until Paul told me that the rear casing on this WR24 was the incorrect one for the main body and consequently would never work, well not without a lot of machining anyway. I reckon he just wanted it back. Oh Well, back to the Russian engine I guess.

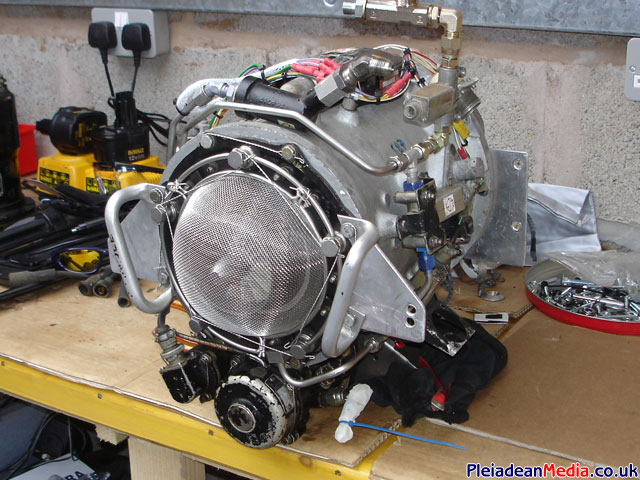
Well, its decided, I’m going to use a JFS100 as the engine as a Turbo Jet conversion for the ‘Jet Powered Sinclair C5’. The engine is an Air Research JFS100-13A; its happens to be the same make and model of engine that is being used on the Jet Go-Kart.

It seems you have to look quite hard to find a JFS100 that doesn’t have a damaged or dented rectifier unit.
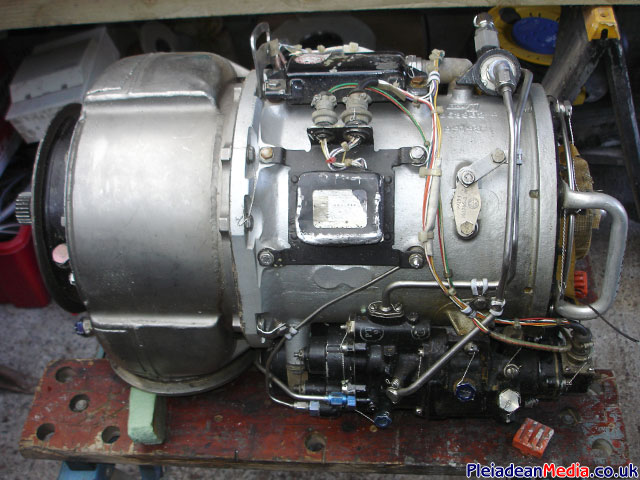
Front, obviously. Well I think so.
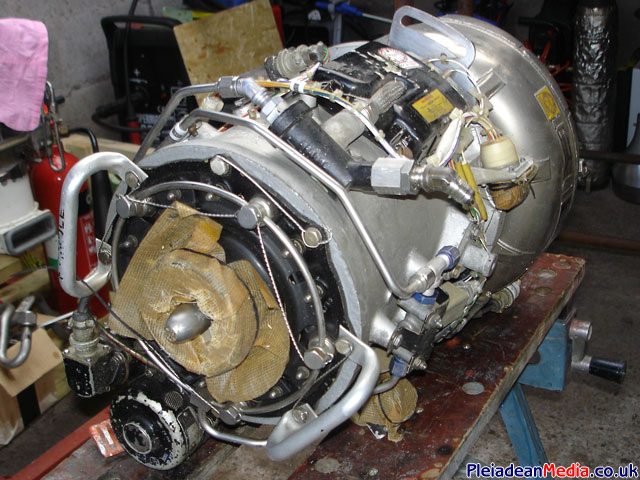
Rear maybe not so obvious, this bit, the free power turbine will be removed for the Turbo Jet conversion.
Nice and dirty gearbox assembly.
I will give it a clean a bit later.
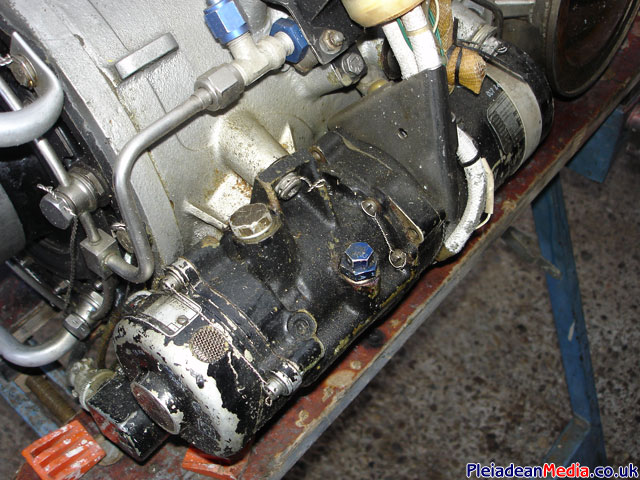
Plate 1 on the free power turbine.
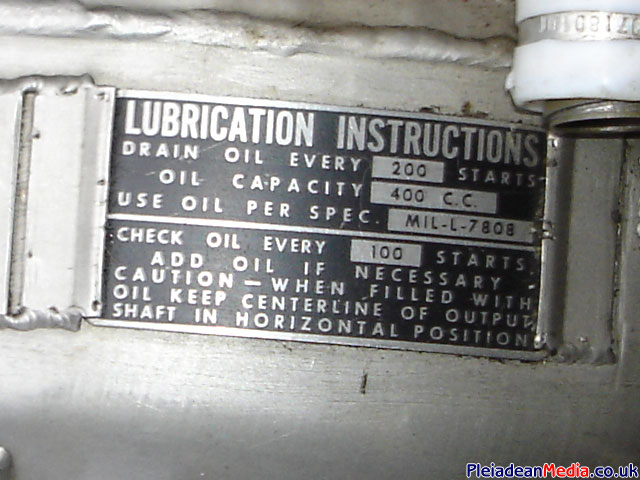
Plate 2 on the free power turbine.
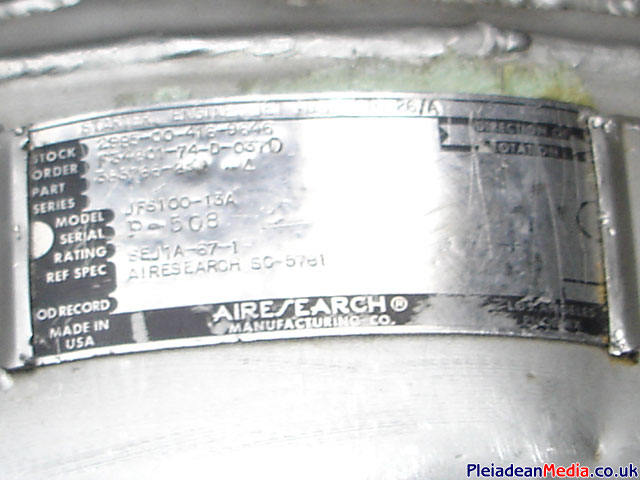
Plate 3 on the free power turbine. It seems that the engine was commissioned March 19th 1982 – wow.

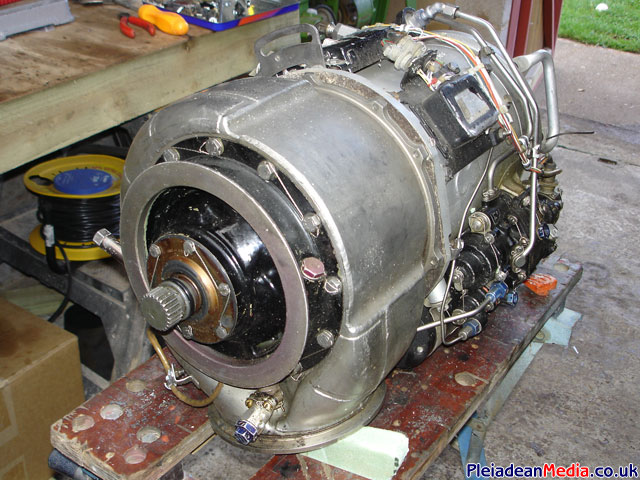
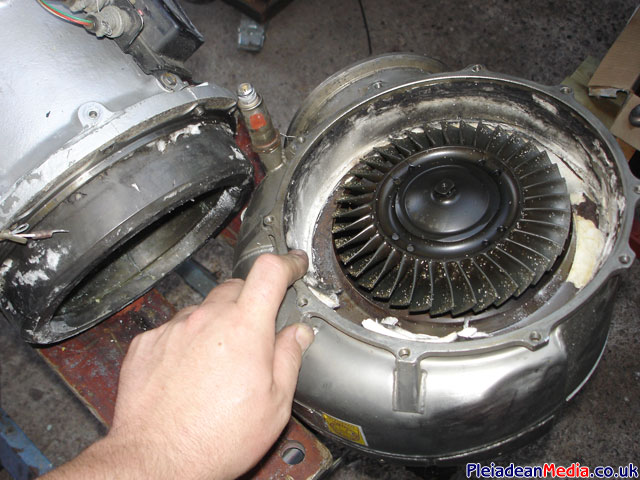
Free Power turbine removed; exposing the power turbine wheel. Note the cotton wool type wadding.
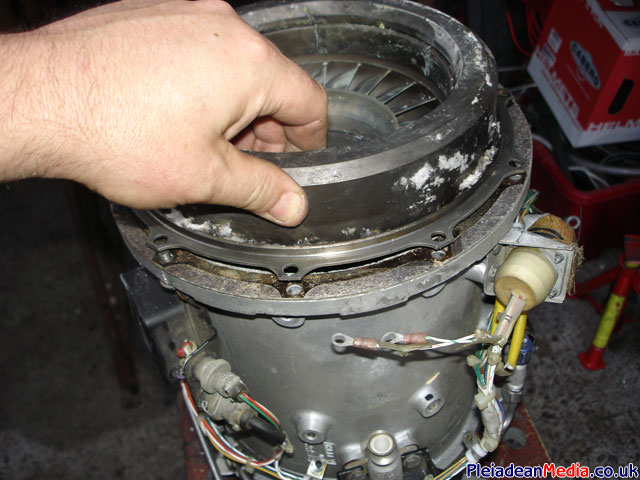
FTP Stator assembly.

A bit of heat and the stator assembly just pops off.
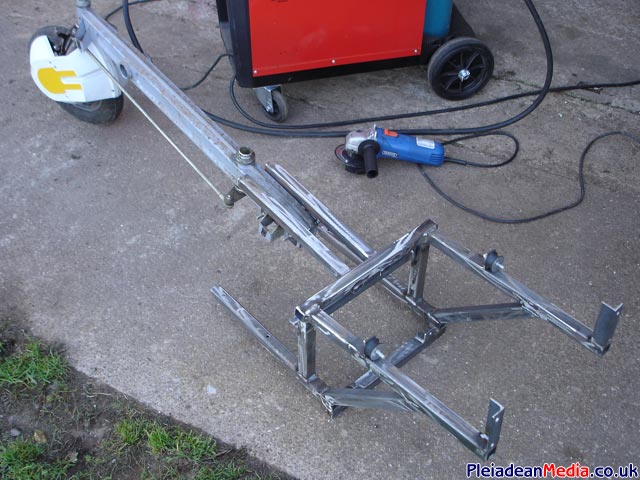
Here we go again, the start of the engine mount and axle support frame.
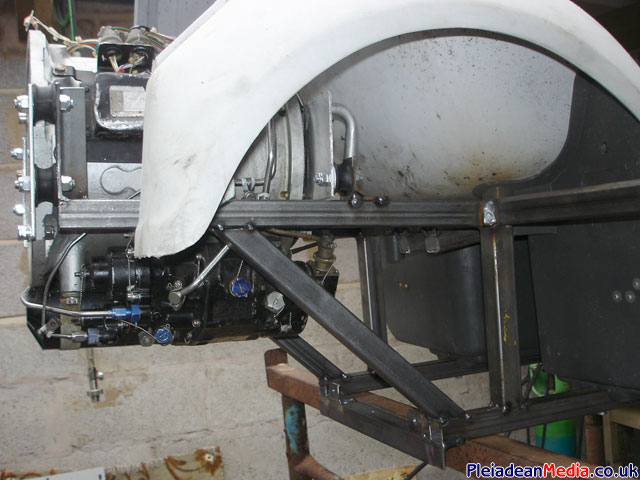
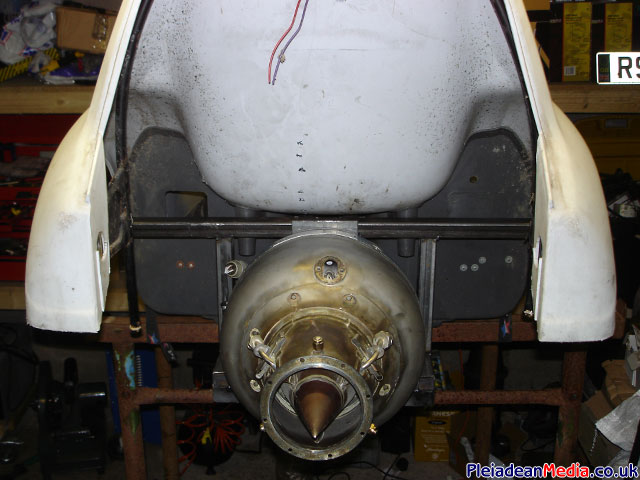
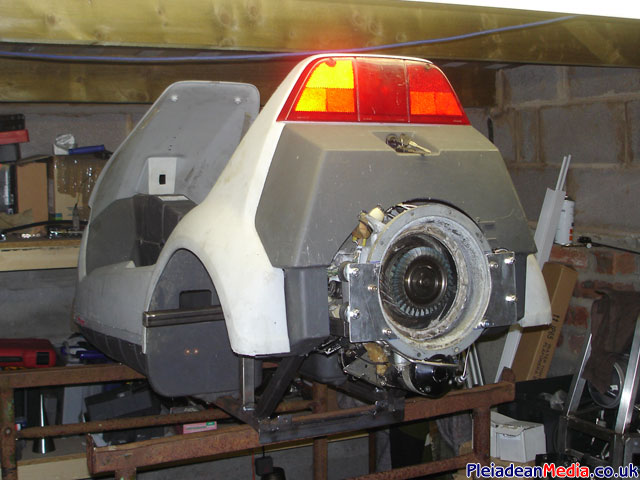
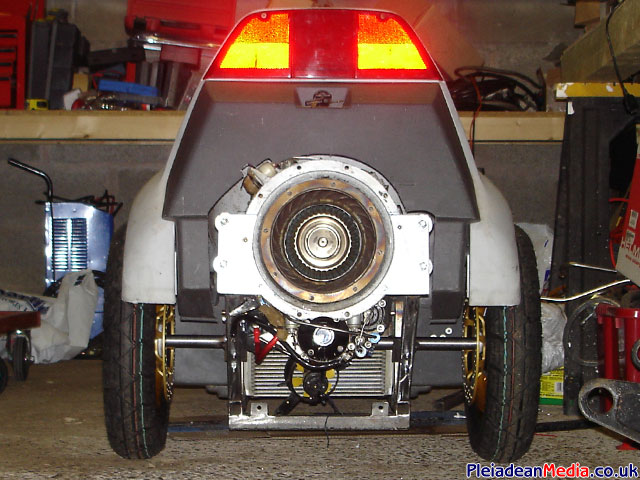
A view of the mounted engine from the side and the rear cover fitted.
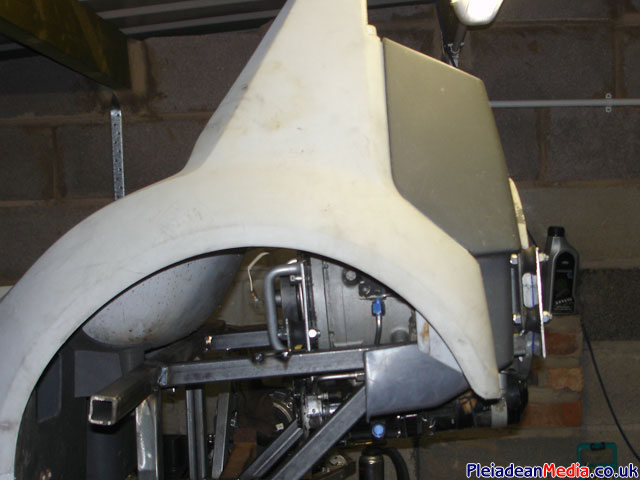
A view of the C5 from behind.
The frame has now been removed for welding as when I make these things I always tack the joints first.
Welded and given a slight grind down with a flap disc.
What a blessing these wheels are and very reasonably priced to. With a Jet on the back the existing wheels weren’t going to deal with the loads put on them.
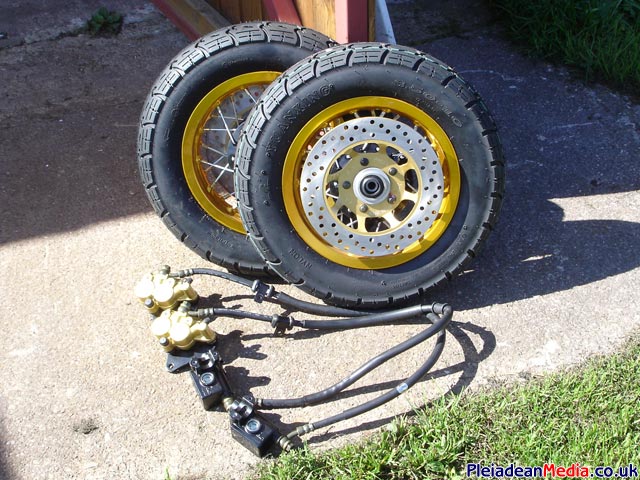
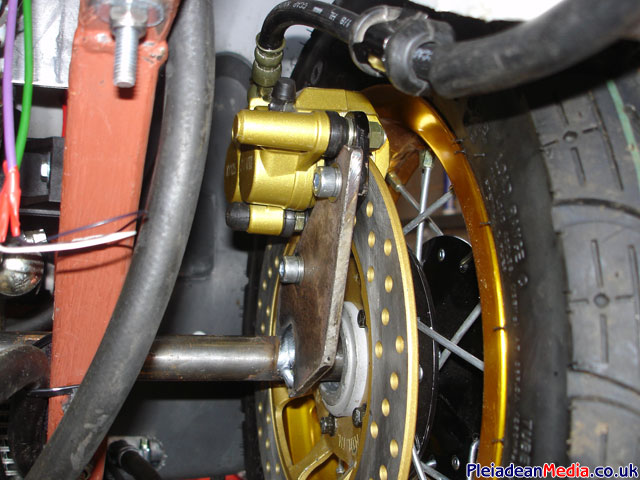
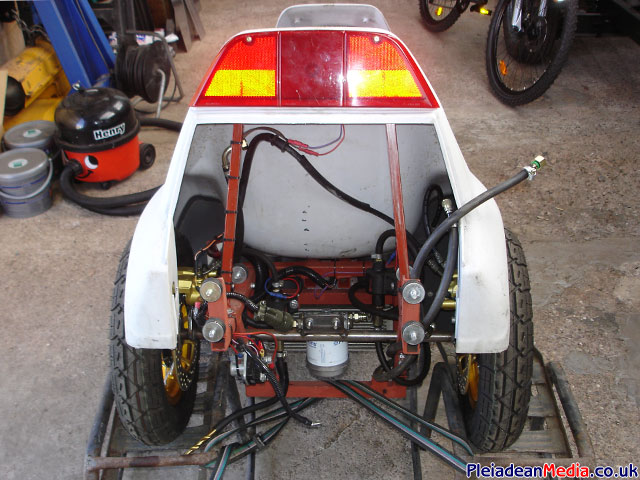
This picture shows how the wheels will be mounted, with the brake discs on the inside. All I have to do now is replace the bearings to accept a 16mm shaft and add the brake calipers.
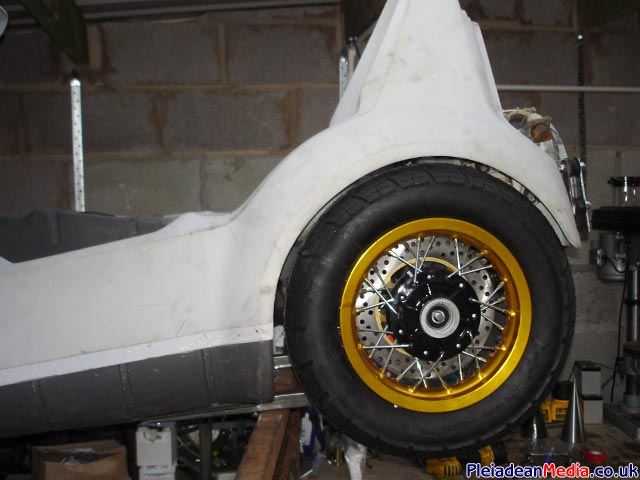
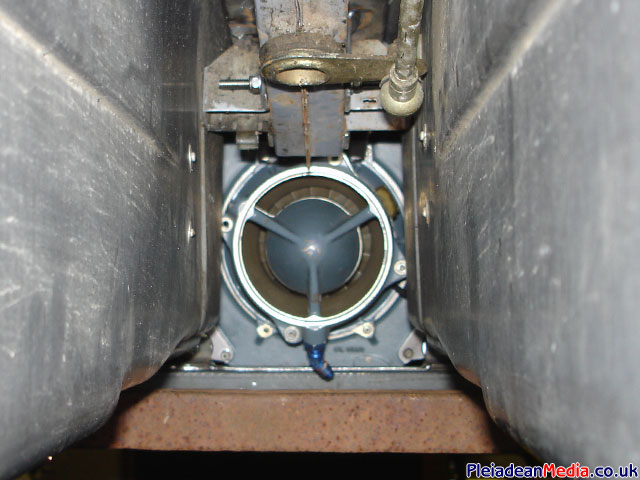
A sneaky view up the rear end, plenty of space to get the calipers fitted. The bearings arrived today, in the end I had to go for 37 X 9 X 20, a little narrow really, but I’m sure they will be fine.
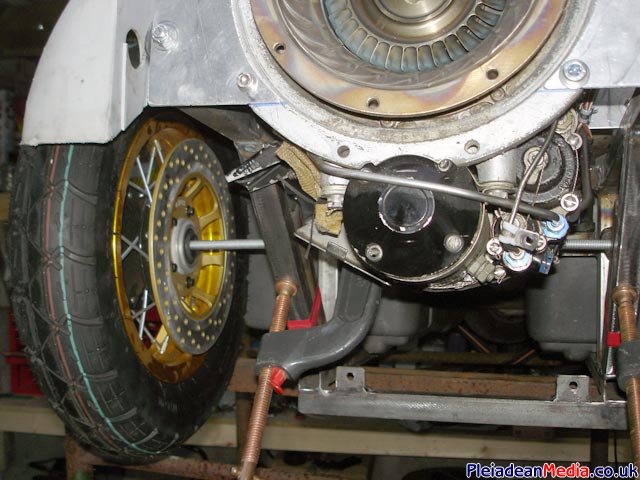
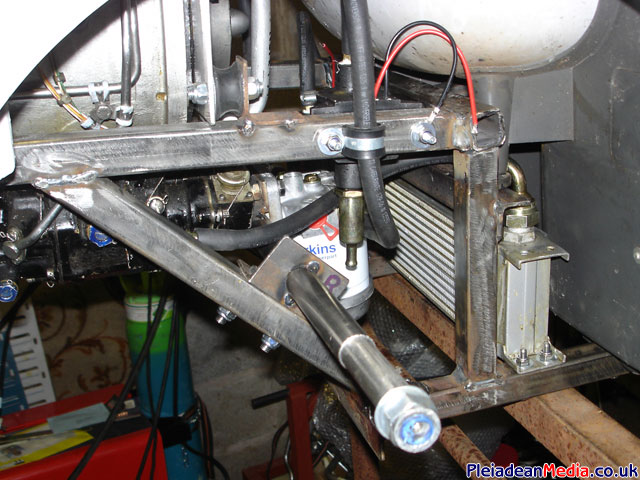
Axle fitted.
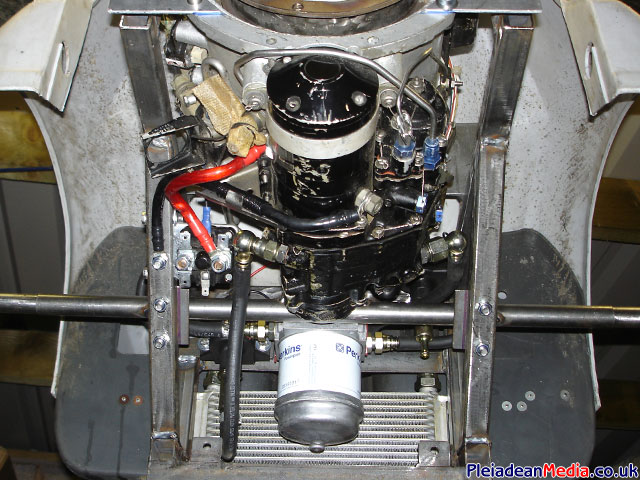
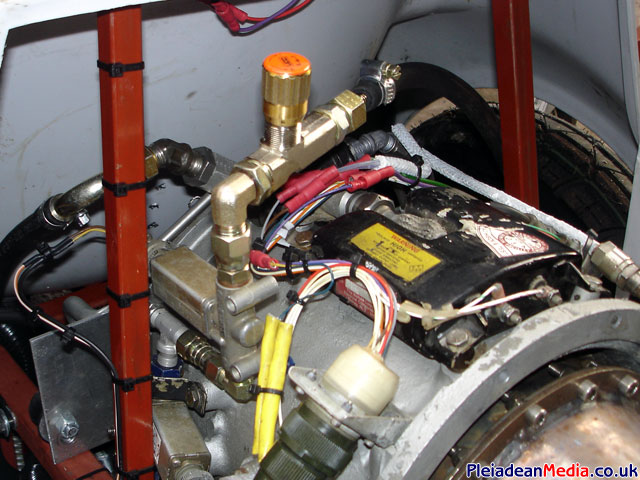
A view of the fitted oil cooler, fuel filter and the 24 volt starter solenoid to the left of center. The oil feed and return fittings have now also been custom made and fitted using 90 degree compact fittings.
Oil and fuel pipe work.
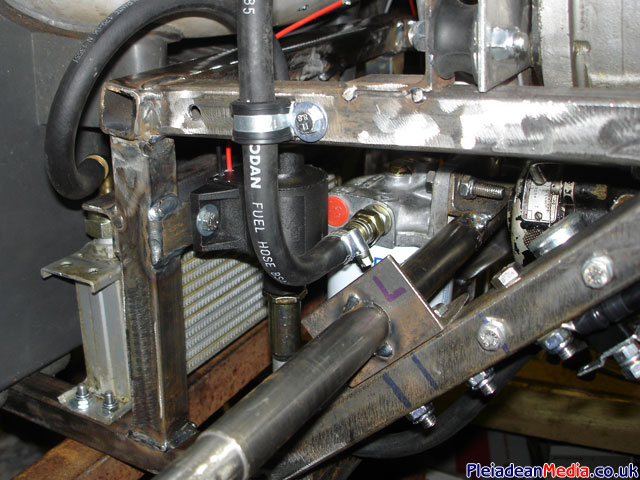
Here you can see the fuel inlet to the LP fuel pump.
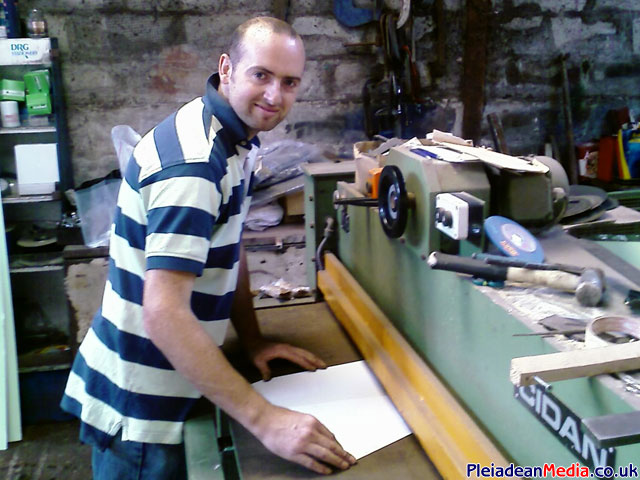
Lord Anton D’Bar at work cutting very nicely some pieces of aluminum for my control panel in his luxurious state of the art workshop. (Excuse the Hammer as we are professionals)
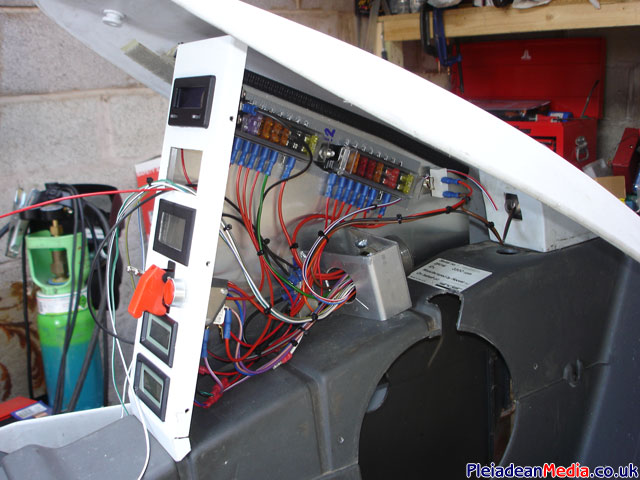
Control panel screwed together and fitted; the lower side panels will be painted grey to match the center console and gauges fitted in the middle.
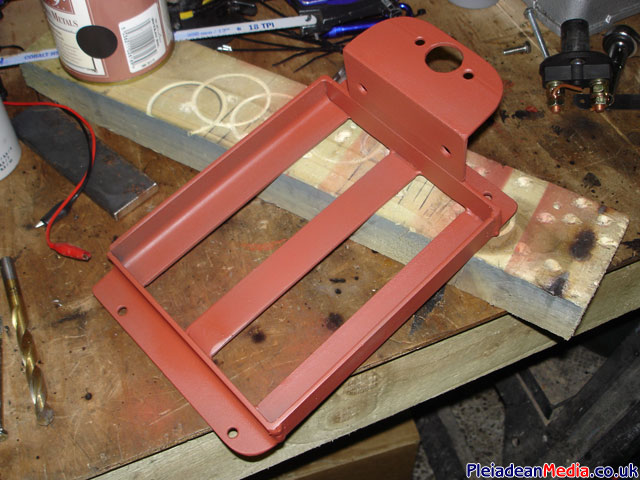
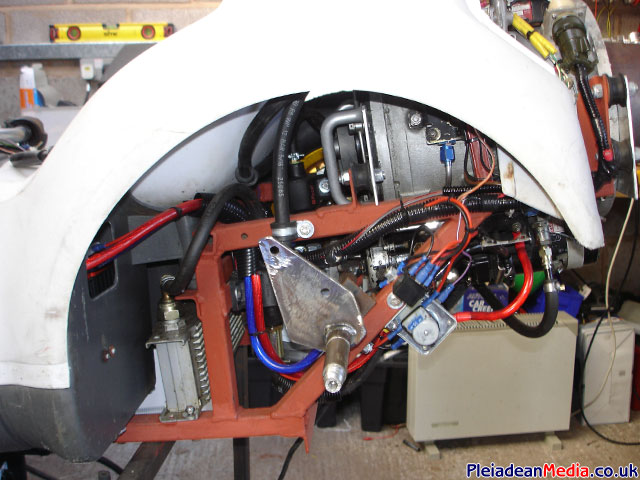
This is the beginning of the battery holder, the hole at the front is to house the 24volt isolation switch.
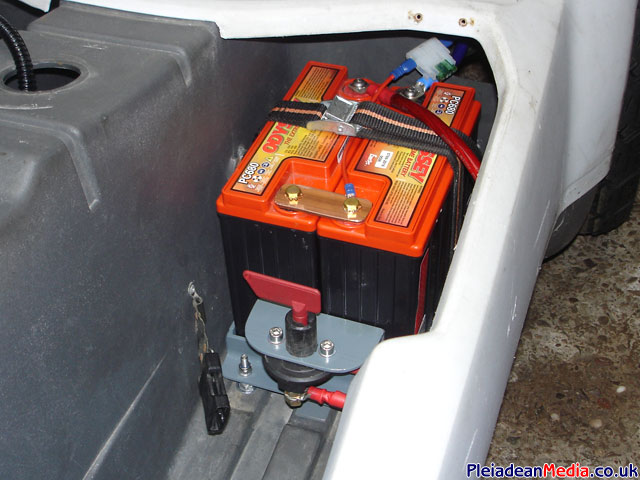
This shows the battery holder mounted to the C5 with the battery’s fixed using a windsurfing roof rack strap.
The control panel is coming along nicely now, the 12 & 24volt fuse box’s can be seen along with the 24pole quick release connector.
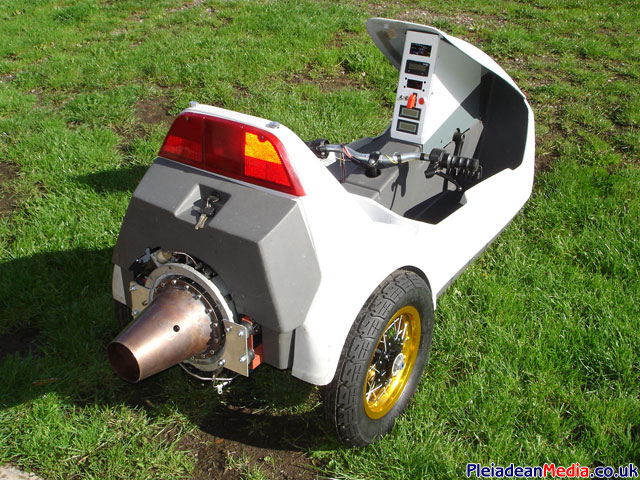
A quick photo making use of the sunny day.
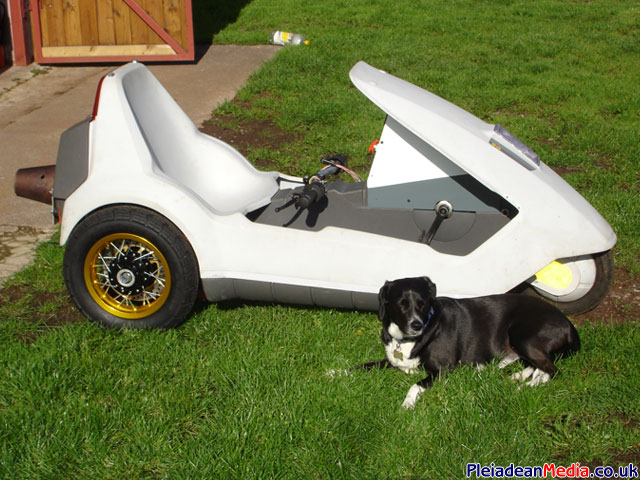
Katie the Dog and the jet Powered Sinclair C5.
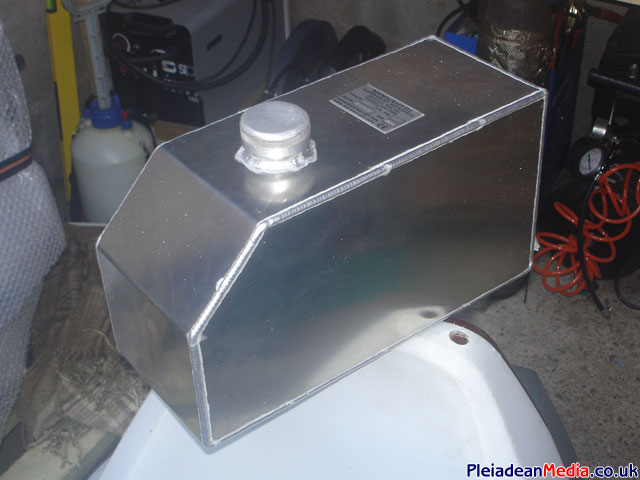
The aluminum fuel tank arrived today, very shiny it is to!
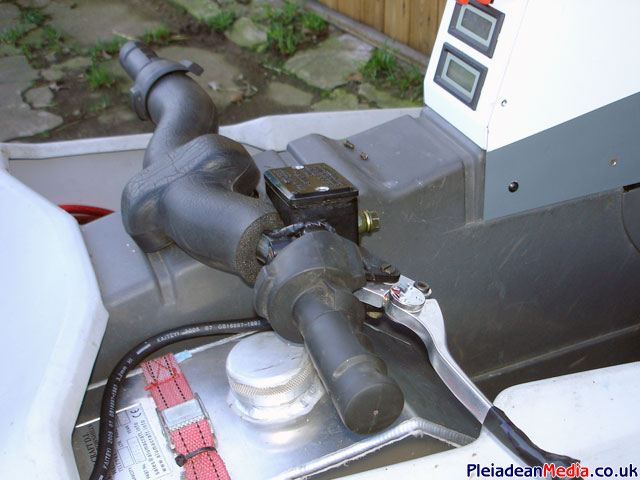
Its been a little while since I have worked on the C5 project, but today I have now fully completed the fuel system by adding a basic throttle control. Based on an idea by Ian, I have attached a ‘NO’ fuel solenoid valve and a needle valve in to the line of the HP fuel rail, the spill form the valves is then returned to the fuel tank, so using the needle valve I was able to reduce the throttle to 80%. Once the solenoid is activated which closes the valve the RPM then jumps up to 100% giving me a 100% or 80% throttle system.
I have to say the brakes job didn’t really interest me that much, so yet again I asked for a helping hand from my old mate Anton.
I reckon he should have been a male catalog model with that kind of meaningful expression on his face, or maybe he’s just lining up the brake calliper to the mount?
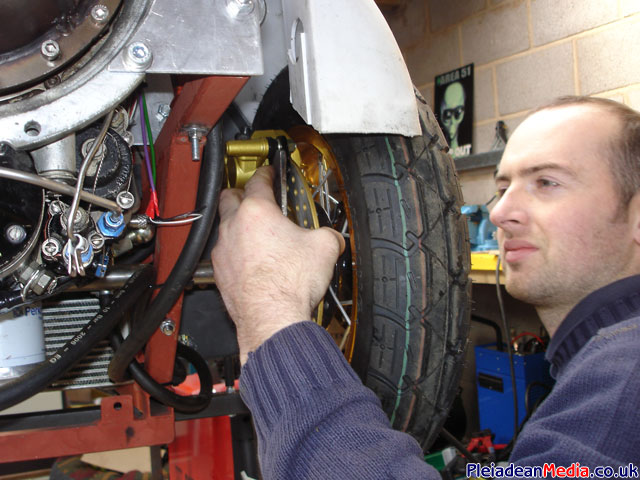
Jobs a goodun, right hand caliper fitted and ready to go.
Dan came over as well, he’s the one that wants to do a spot of fine tuning with the hammer.
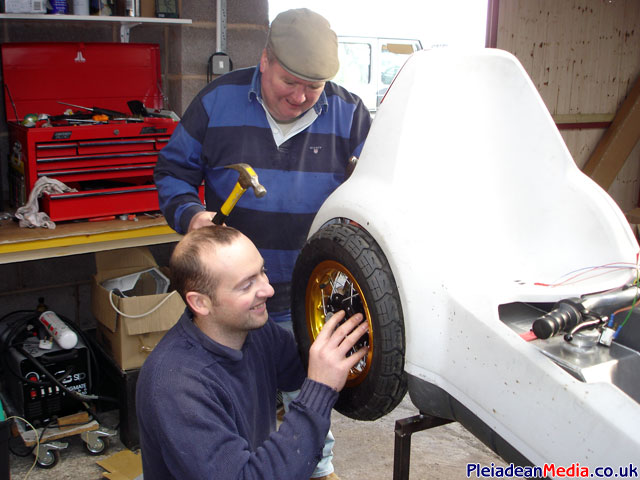
The brake master cylinder came from a scrap Suzuki 1100 motor bike, with the handle trimmed down a bit it makes for a perfect match for the 2 brake calipers.
Unfortunately a friend of mine has Fodded his compressor by running his jet kart on a runway with no intake grill, we were both surprised that the chipping’s made it up that far, consequently this worried me enough to remove the engine and add some form of protection.
I decided that I would use my favorite form of FOD guard, a kitchen flour sive. Even though there will be a loss of efficiency, it will be worth the peace of mind.
For your reference, I think most people miss the point, I’m not after land speed records and I know for a fact that there is a C5, electric powered that will travel well over 100mph and get to 60 in less than 7 seconds. The jet powered Sinclair C5 makes me smile and if it makes you smile too, then I have set out what I wanted to do.

I have been amused by some of the comments that have appeared on the web, for example:
- It’s a photoshop image, the C5 would just melt.
- The sounds been overdubbed on to the video.
- The folks at Jetpower.co.uk have proved that not just stupid people are eligible for a Darwin Award.
- Not convinced, sounds like somebody blowing into a microphone and a bit of speeded up film to me..!
- Your mother would prefer you had a motorbike!
Richard Brown during one of the C5’s first test runs.
Ian Bennett having the next turn, I did feel a little guilty as the C5 run out of fuel on Ian’s return journey.
Yet another C5 Test run with myself at the controls. I have to thank Steve, Jon & Jube for their help with the filming.
A spin at the racetrack after the JFS100’s engine rebuild.
A small oil leak resulted in an aborted first run, this was soon sorted out within a few minutes.